I remember hearing Tony Fadell talk about his vision of replacing all of the dumb white boxes around your house when he started Nest. At least he managed to do a good job with the thermostat (and an ok job with smoke detectors) before riding off into the sunset.
The Problem
We have in-floor heating in a few of our bathrooms which were controlled by dumb white boxes. These boxes were:
- rather expensive
- didn’t have any wifi connectivity or ability to control them remotely
- had clocks that would drift from the actual time and need to be adjusted regularly
- didn’t adjust automatically for daylight savings
- would forget their scheduled programming if the power was out for more than a few minutes
- didn’t know if we were home or away so we manually turned them OFF before leaving
- didn’t have any ability to report energy usage
Yes, there probably are some more modern implementations available that solve some of these problems but they usually come with their own cloud service and app. I’d prefer to be able to centrally control and manage these via my own home automation system along with everything else in my home. And hey - it’s a fun problem to solve.
In-Floor Heat Sensors
The first thing I wanted to understand was how these thermostats and sensors work. In floor heating systems typically have a sensor embedded in the floor during installation. These sensors are usually 10k NTC sensors (aka Thermistors) that have a varying resistance at different temperatures. If you know the resistance at 3 different temperatures you can use the Steinhard-Hart equation to calculate the sensor’s temperature at any resistance.
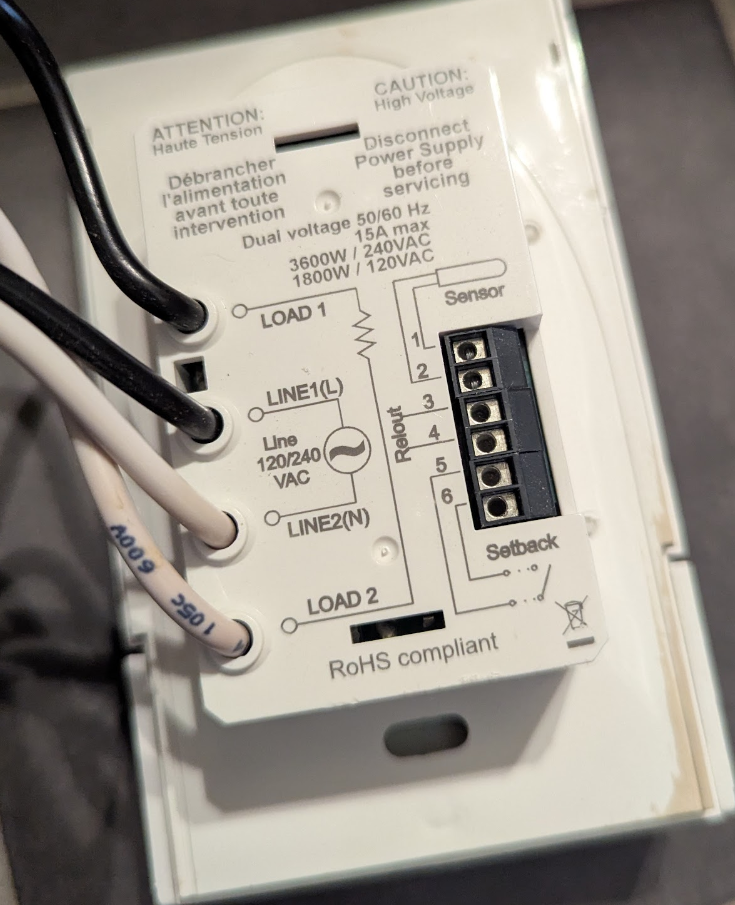
I used my existing thermostat to get the floor temperature to 3 different points and then used a multi-meter to test the resistance of the sensors so I could later calibrate my replacement controller. Measuring the resistance is simple - just turn off the breaker to the thermostat, find the sensor wires where they attach to the thermostat, detach them and measure the resistance across the two wires of the sensor.
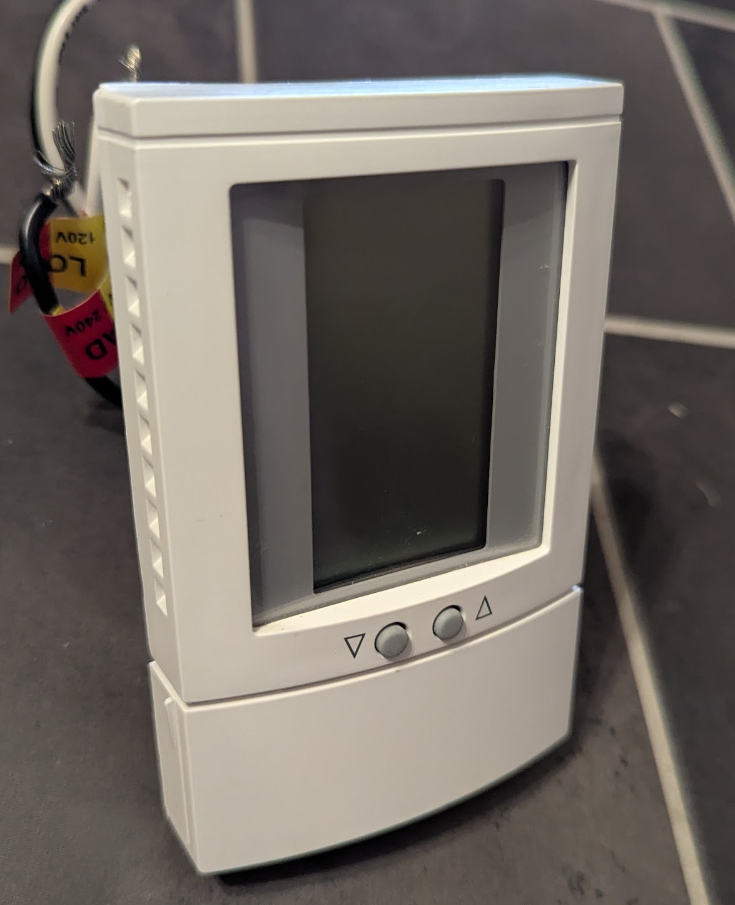
Current Thermostats
The old thermostat I’m replacing is a Suntouch 15A so we need to ensure the new Shelly relay can support that rating.
IOT Device Choices
To replace my thermostat I needed to find a device that could measure the floor sensor’s resistance to determine the current temperature and compare it to a desired target temperature. It would then need to turn ON/OFF power to the resistive heating element until the target temperature is reached. I wanted a device that was suitable for putting in an electrical box in the wall where the current thermostat, power, and sensor wire were all located. I also wanted to avoid USB powered devices which need a transformer (aka wall-wort) to convert line power to USB. Luckily Shelly makes great devices like the Shelly 1PM that are powered by line voltage, suitable for putting in a wall box, WiFi controllable, and have an in-line relay supporting up to 16A. They also can be connected to a Shelly Plus Add-On which can be used to integrate with the NTC sensor.
So for ~$36 USD you have the hardware to automate your floor heat. WiFi connected floor heat thermostats on Amazon range from $150-$350 and don’t have the same level of flexibility.
Next
In the next post we will talk about how to wire these devices to the LINE, LOAD, and SENSOR.